Using Git With Godot Launcher
Git keeps a history of changes to your project. Godot Launcher can set up a repository when you create a project or add Git later from Project Settings. First, install Git and check that it is Available in Settings > Tools.
The result depends on when you add Git:
- A new project gets
.gitignoreand.gitattributes. If you enable Git and create a standalone repository, it also gets amainbranch and an initial commit, unless you choose to skip the commit. - An existing project gets an empty repository if it is not already inside a Git repository. Its project files are left unchanged and uncommitted.
Godot 4.0 may store sensitive credentials in export_presets.cfg. The generated .gitignore does not exclude this file by default. Before committing it, read the compatibility warning in .gitignore and uncomment the export_presets.cfg rule if you use Godot 4.0.
If the file is already tracked, run git rm --cached -- export_presets.cfg to remove it from Git's index while keeping the local file, then commit that removal with the .gitignore change. Earlier copies remain in Git history. Rotate any credentials that may have been committed.
See Godot's version control guidance for the differences between engine versions.
Set up Git for a new project
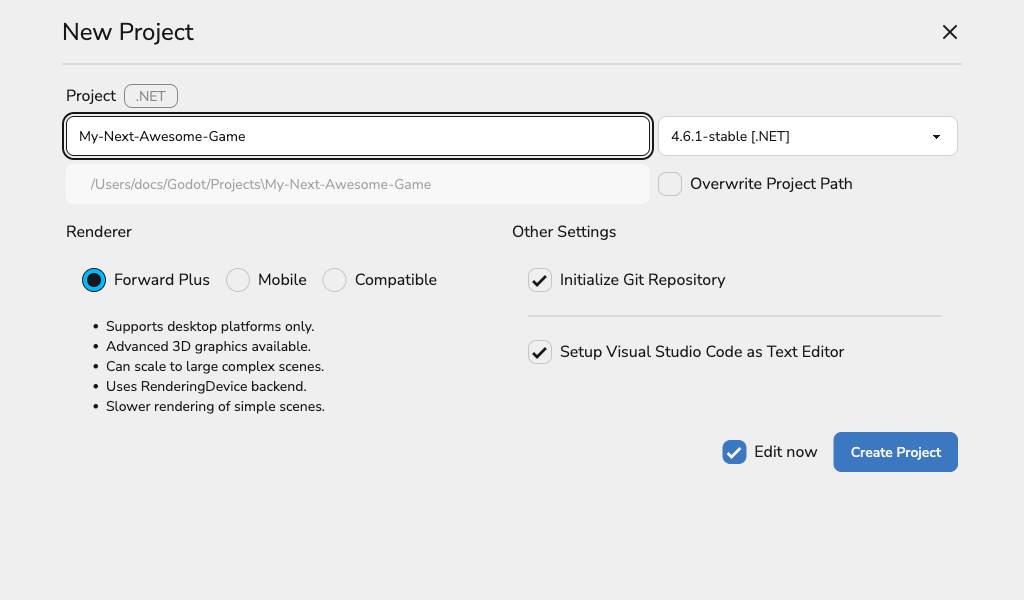
- Open Projects > New Project and enter the project details.
- Keep Initialize Git Repository enabled.
- To track assets with Git LFS, enable Use Git LFS before creating the project.
- Select Create Project and choose a Git identity if prompted.
For the full creation workflow, see Create a New Godot Project.
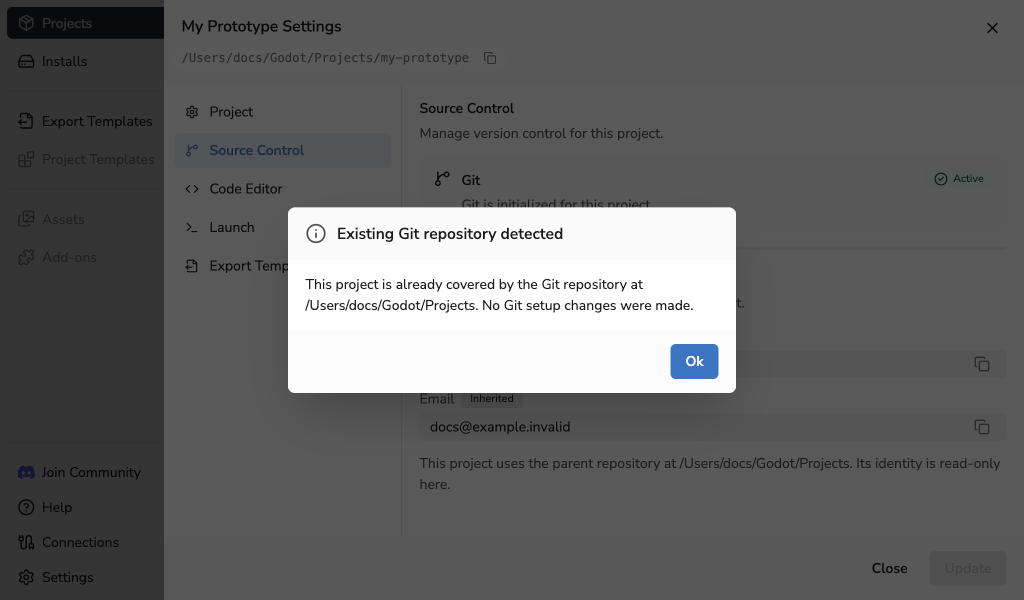
The first commit is named Initial commit. If the selected folder is inside another repository, a confirmation explains that no separate repository or initial commit will be created.
Track large assets with Git LFS
Git LFS stores matching files as small pointers in Git and keeps their content separately. Your hosting provider's storage and bandwidth limits may apply.
When Git and Git LFS are both Available, enable Use Git LFS before creating the project. Its help panel lists the tracked patterns for 3D models, images, audio, fonts and icons, and Godot resources. The patterns match file types, regardless of file size.
Godot Launcher sets up Git LFS in the new repository and adds the patterns to .gitattributes before the first commit. It keeps the existing text line-ending rule. If LFS setup fails, project creation stops and the launcher attempts to remove only the files it created. Follow any recovery message before trying again.
This option applies only to a new, standalone repository. It does not configure an existing repository, parent repository, submodule, or linked worktree, migrate tracked files, or rewrite history. For an existing repository, follow the Git LFS documentation and review your repository history and hosting limits first.
Choose a Git identity
Git records a name and email with each commit. Godot Launcher can use an existing identity or ask you to provide one before the initial commit.
| Identity | Where it applies |
|---|---|
| Global Git identity | Git uses this name and email when a repository has no local override. Saving it changes Git's global configuration. |
| Repository-local identity | Applies to commits in one repository and overrides the global identity there. |
| Project identity preset | Saved by Godot Launcher for use in new repositories. It changes no Git configuration until applied. |
Use Settings > Tools > Git to edit the global identity or save a project identity preset. With Use automatically for new repositories enabled, the preset becomes the new repository's local identity before the initial commit. Otherwise, you can review it during project creation.
If no usable identity is available, select Add Git identity. Enter your Name and Email, choose where to save them and how to handle future projects, then select Save and create project. You can instead select Skip initial commit and commit the project later. See Git troubleshooting if the identity or commit cannot be saved.
Understand the generated Git files
The generated .gitignore is designed for Godot 4.3 and later. It ignores:
- Godot cache and generated build directories such as
.godot/and/android/. - Generated translations and .NET output.
- Godot Launcher-managed
.vscode/configuration, which can contain local paths. - Common local
build/andbuilds/output.
The file also contains commented compatibility rules for older Godot project layouts. Enable only the rules your project needs.
The generated .gitattributes treats detected text files as text and normalises their repository line endings to LF.
Add Git to an existing project
- Open Projects.
- Select Project settings on the project card.
- Open Source Control.
- Select Initialize Git.
If the project is not already inside a Git work tree, this action creates an empty Git repository in the project folder. It does not add template files, change the branch name, or create a commit.
This action does not configure Git LFS. See Track large assets with Git LFS before adding it to an existing repository.
After setup, Source Control shows Active.
The Commit identity section shows the name and email Git will use, including inherited values. To change them:
- Select Update in Commit identity.
- Enter Name and Email.
- Select Save identity.
This saves an identity local to the repository. Editing is available only when the project folder is the repository root. Identities inherited from a parent repository or used by a linked worktree are read-only here.
If the project already belongs to a repository, including a parent repository, linked worktree, or submodule, Godot Launcher recognises it. Initialisation makes no changes to its files, identity, branch, or commits.