Add an Existing Godot Project
Add a Godot project that is already on your computer to Godot Launcher. Its files stay in their existing folder. To clone a repository first, see Import a Godot Project from Git.
You do not need an editor installed before adding the project.
Add the project
- Open Projects.
- Select Add > From this computer, or From this computer on the empty welcome screen.
- Select the project's
project.godotfile.
You can also drag one or more project.godot files onto Projects.
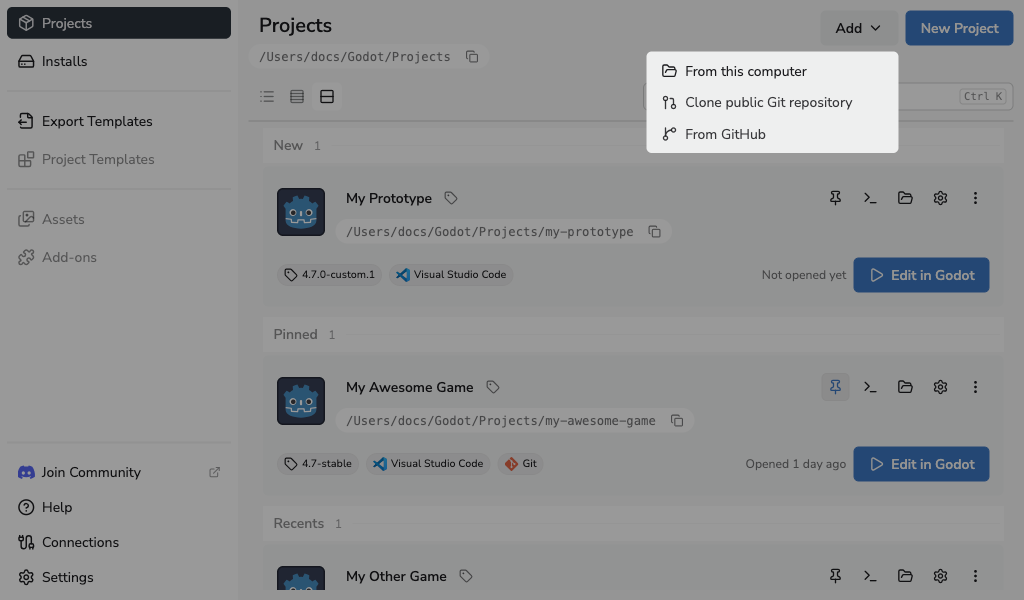
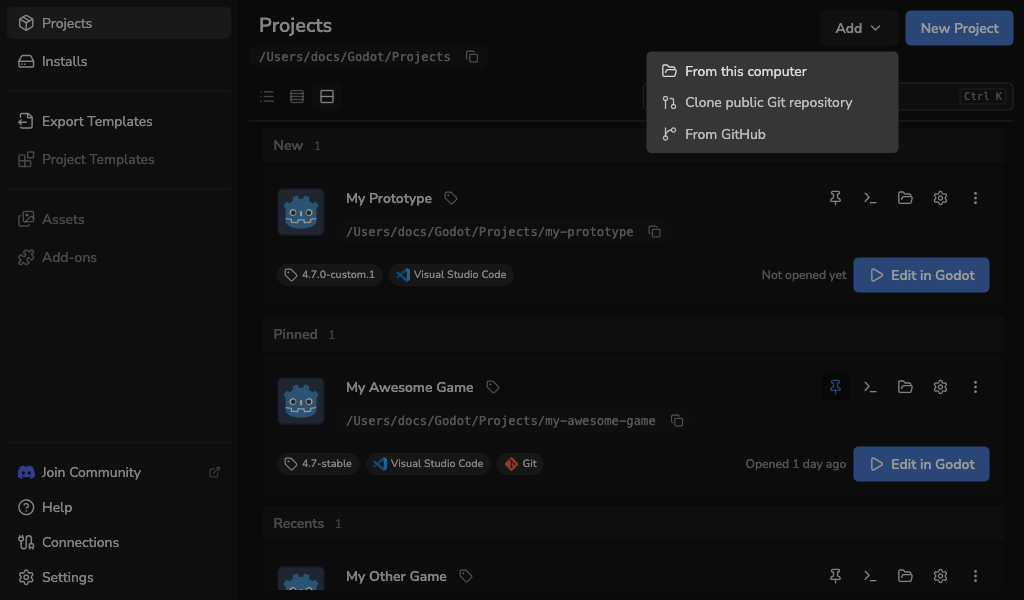
The project appears in Projects when it is added. If a name or editor needs your attention, the launcher opens a review first.
Review names and editors
- Review each selected project's name and Godot editor.
- Change any conflicting name, or clear the selection to skip that project. A folder already registered in the launcher must be skipped.
- Select Add projects to add the selected projects.
Changing a name here changes its name in Godot Launcher, without renaming the Godot project or its folder.
Choose the Godot editor
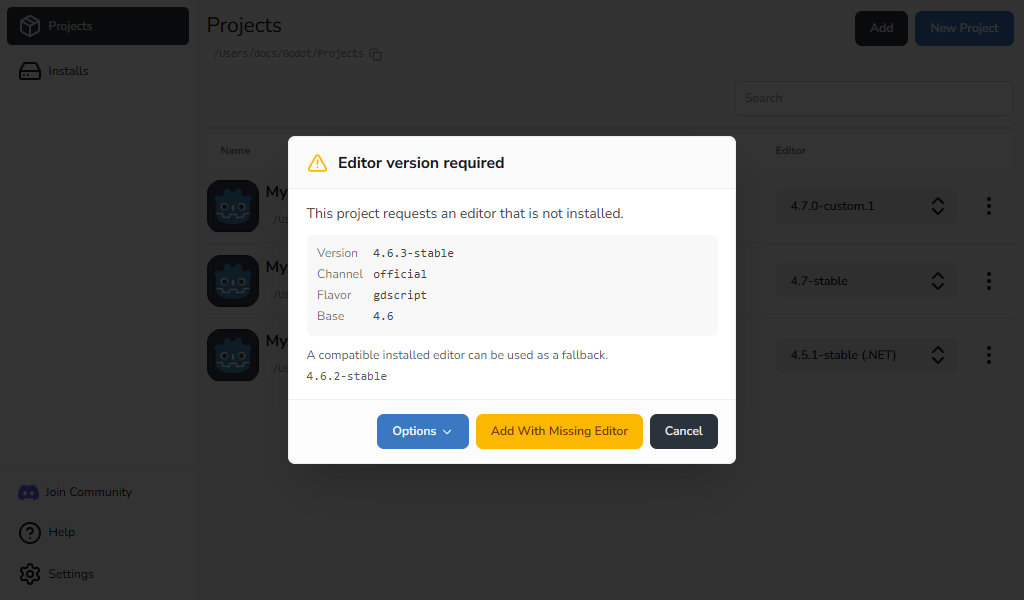
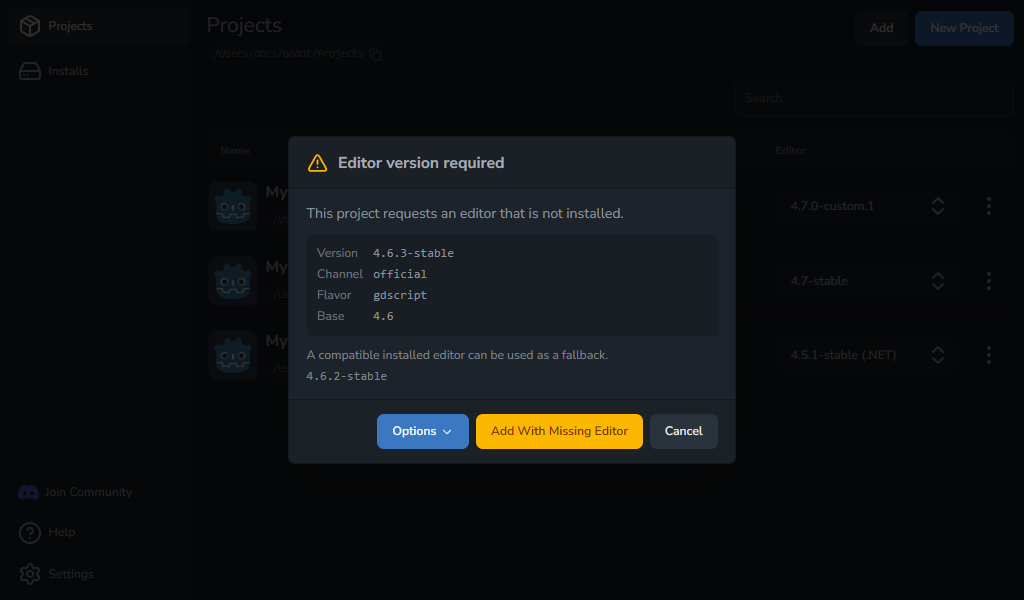
The review offers editors matching the project's Godot version and Standard or .NET requirements:
- Choose an installed editor so the project is ready to open after adding it.
- Choose a downloadable editor to add the project and download its editor in the background.
- Choose Add With Missing Editor to add the project before its editor is available.
For projects without a saved editor choice, the newest matching stable release is recommended. If no stable release is available, the newest matching prerelease is offered. Matching registered custom builds are also listed.
If the project has a .godotlauncher file, the launcher keeps the editor recorded there unless you choose another available editor. A failed download also leaves your selected editor saved.
A project with a missing editor stays in Projects but cannot open until an editor is available. Use Install required editor to retry an official editor download, or see editor selection troubleshooting.
Choose the code editor
The code editor choice applies only on this computer. The launcher selects Visual Studio Code or VSCodium when it can identify the project's existing setup; otherwise, no code editor is selected.
To change this after import, open the project's settings button, select Code Editor, choose an editor, and select Update. See Code Editor Settings if the editor is unavailable.
Keep or add Git
The launcher detects an existing Git repository, including one that contains the project. To initialise Git for a project without a repository, open Project Settings > Source Control and select Initialize Git. This action does not add Git template files or create a commit.
See Using Git With Godot Launcher for Git setup and Manage Godot Projects for opening, finding, and organising added projects.