Manage Godot Export Templates
Use Godot Launcher to download or import export templates and reuse them across projects. Open Export Templates in the sidebar to manage:
- Official collections: choose which files to install for a Godot version and edition. Projects using Official share those files.
- Imported builds: import a complete TPZ package, give it a name and select it for the projects that need it.
The totals include both Official collections and Imported builds. Platform badges are based on filenames; they do not guarantee that every template for that platform is installed. You can install only the Official files you need and add more later.
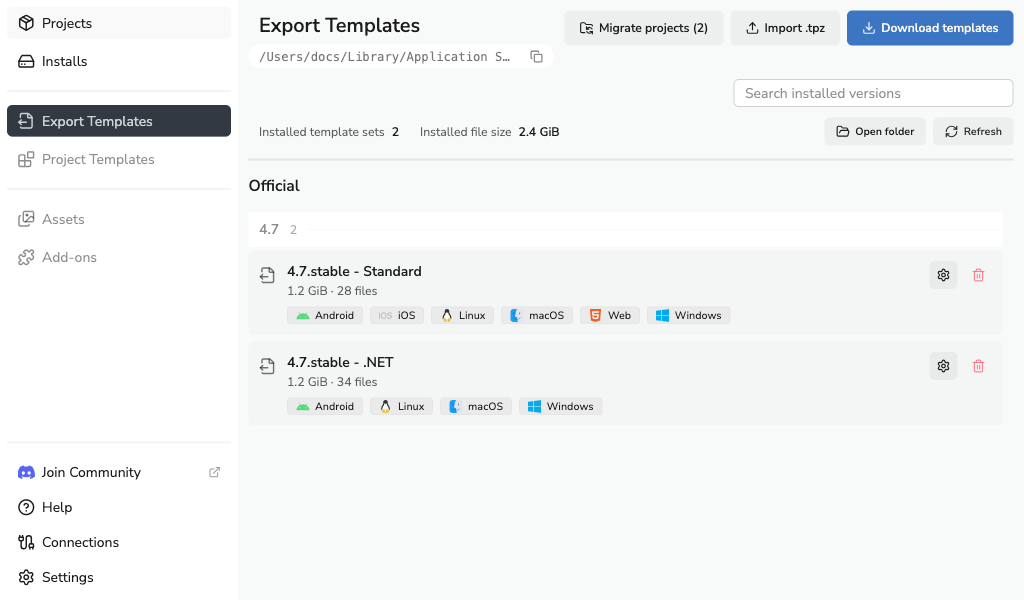
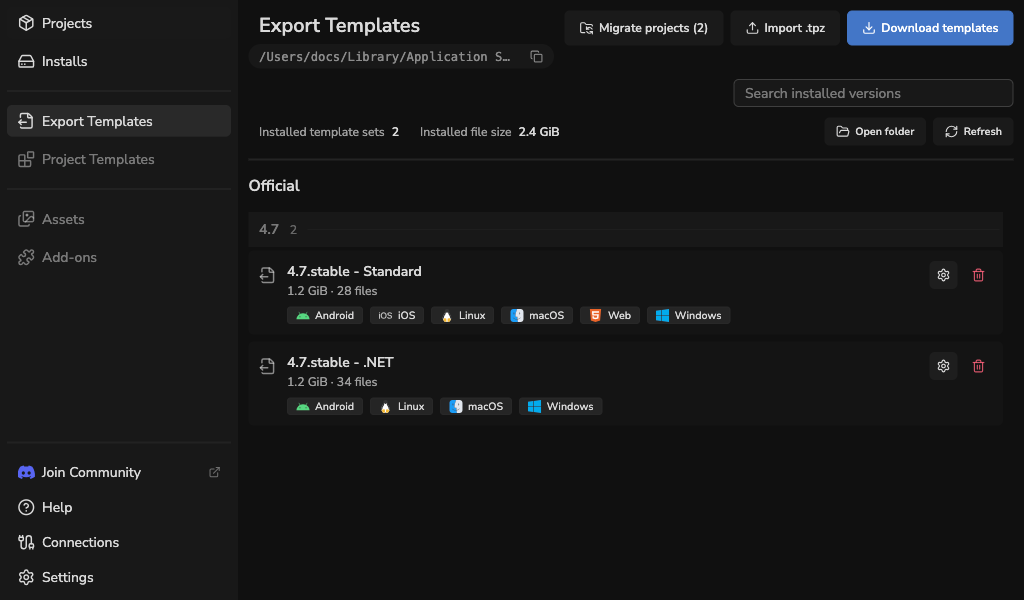
Download official export templates
Saving a selection that removes installed files permanently deletes those files. Godot Launcher keeps no backup. Keep your own copy of any files you may need before removing them.
- Choose Download templates and select a Godot version and edition. Use the channel and installed-editor filters to find the release.
- Select the template files you need. Review the files to add or remove.
- Choose Save changes. You can also open Manage templates on an existing collection to change its installed files.
If the server cannot provide individual files, choose Download full package to download and install the complete package for that version and edition. Existing installed files, including extra files, are retained. The drawer shows download and extraction progress. Use Cancel while it is available. A cancelled download leaves installed files unchanged.
After cancellation, choose Retry. After a failure, follow the displayed recovery action: Retry, Refresh file list, or Choose another version.
Templates must match the project's Godot version and edition (Standard or .NET). For Godot's export presets and platform requirements, see Exporting projects.
Adding or removing Official files affects every project using that collection, including Godot editors opened outside Godot Launcher.
Import a named build
- Choose Import .tpz, then Choose TPZ file.
- Select the package and choose Next. Godot Launcher checks the package and shows its version, edition and file count. Expand Package details to review the platform badges and files.
- Enter a Name, such as
Cloud Build, then choose Save.
The named build appears in Imported. Choose Open template folder to view its files. The original TPZ archive stays where it is.
You can import several builds for the same Godot version and edition. Importing a build does not change any project's saved selection. Select the build for each project that needs it.
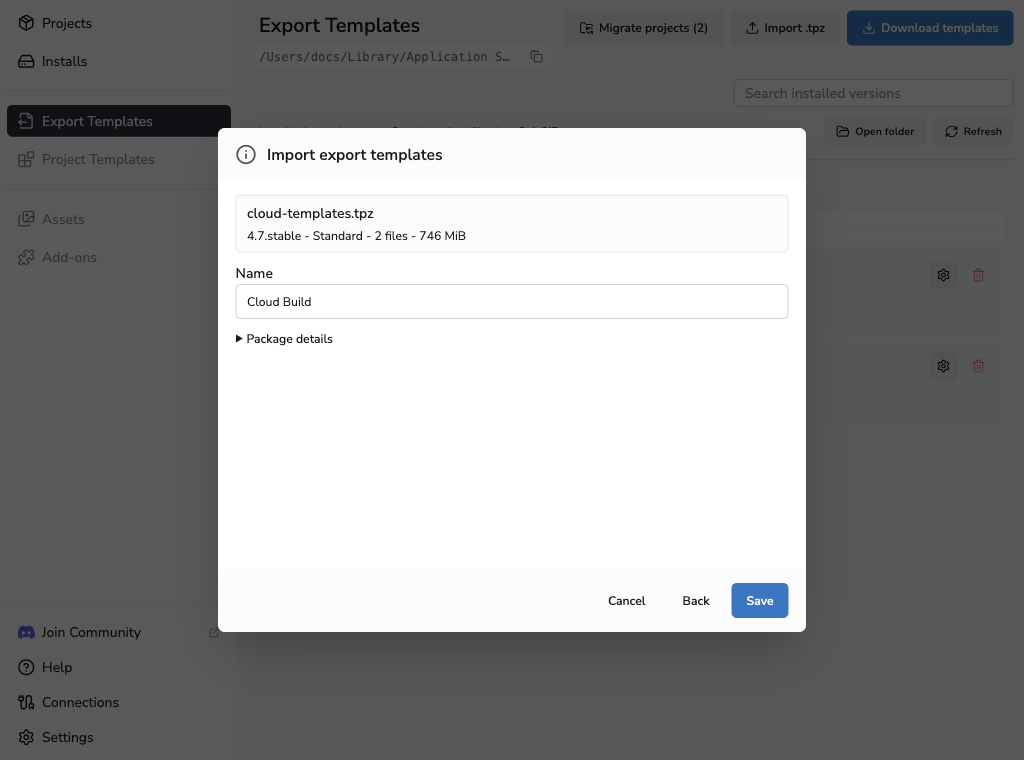
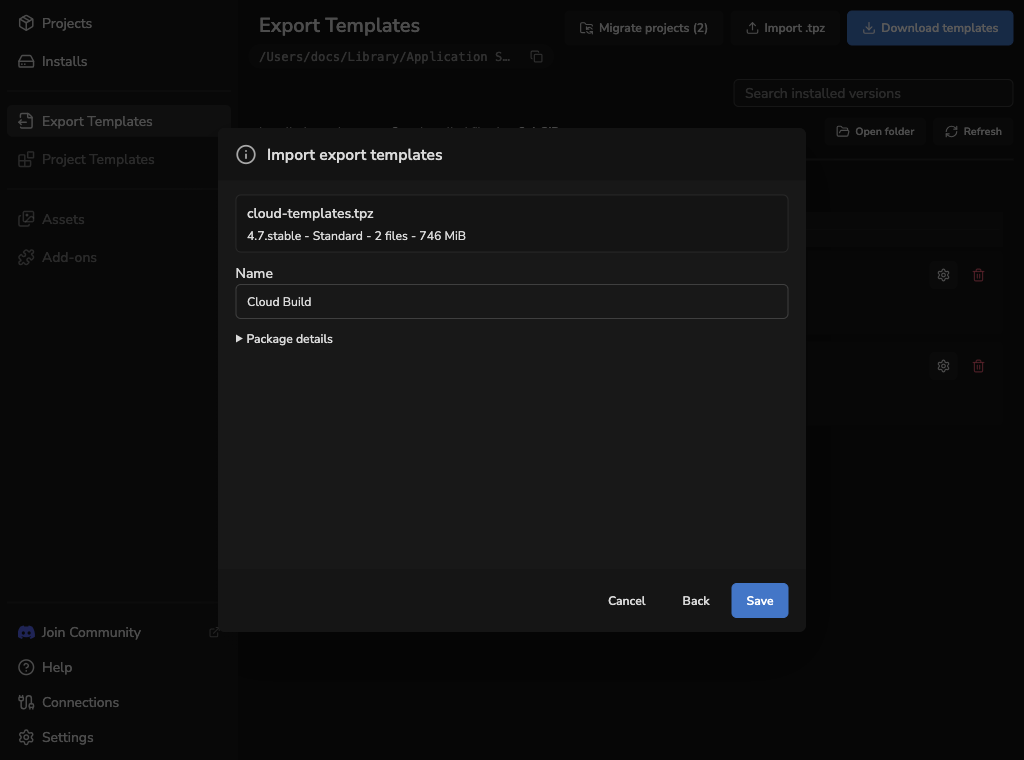
Import packages from a source you trust. Package checks do not verify who created a build or whether it supports custom capabilities such as encryption.
Imported builds are managed as complete packages. Their individual files cannot be added or removed through Godot Launcher. See Rename, replace or delete an import to change a package.
Select a project's build
If the project still has local templates, migrate them before selecting a build.
Open Project Settings > Export Templates and choose an Export template build for the selected Godot version and edition:
| Selection | Behaviour |
|---|---|
| Official | Uses the shared Official collection. This is the initial choice. |
| A named imported build | Uses that build's files from shared storage. Only builds matching the project's Godot version and edition are available. |
Choose Update to save. Orange indicators mark pending changes. Closing the drawer with unsaved changes offers to discard them or go back.
Build choices are saved on this computer for each Godot version and edition. They are not included in the project's portable .godotlauncher metadata. For custom Godot editors, manage export templates in Godot.
When a selected build is unavailable
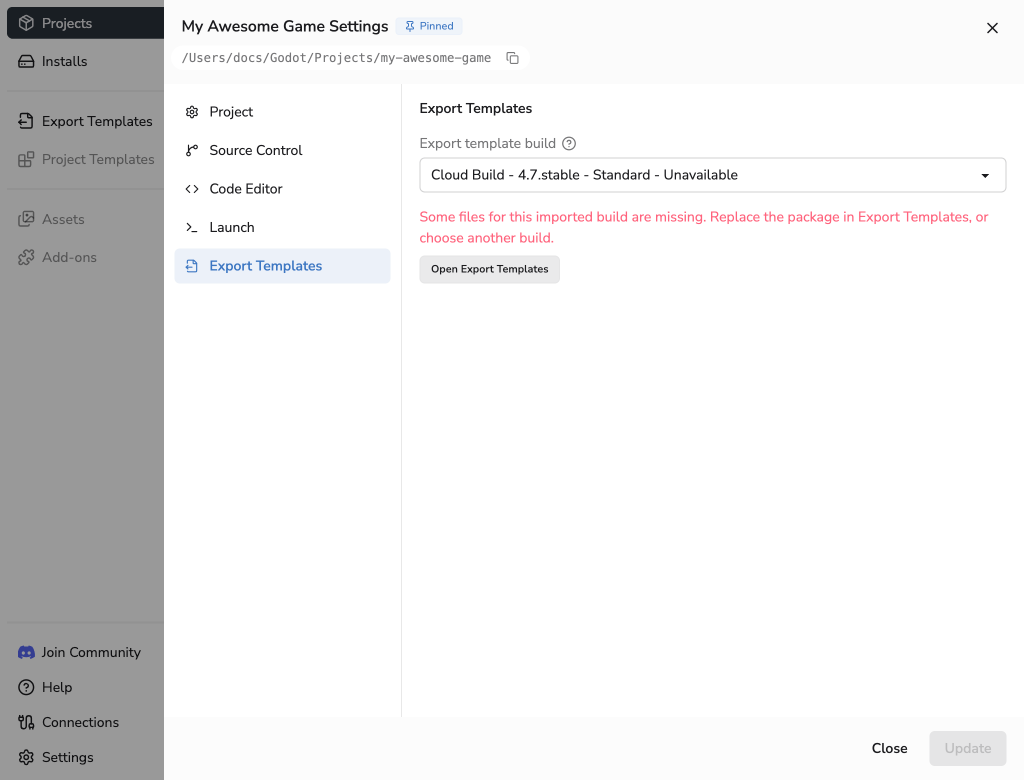
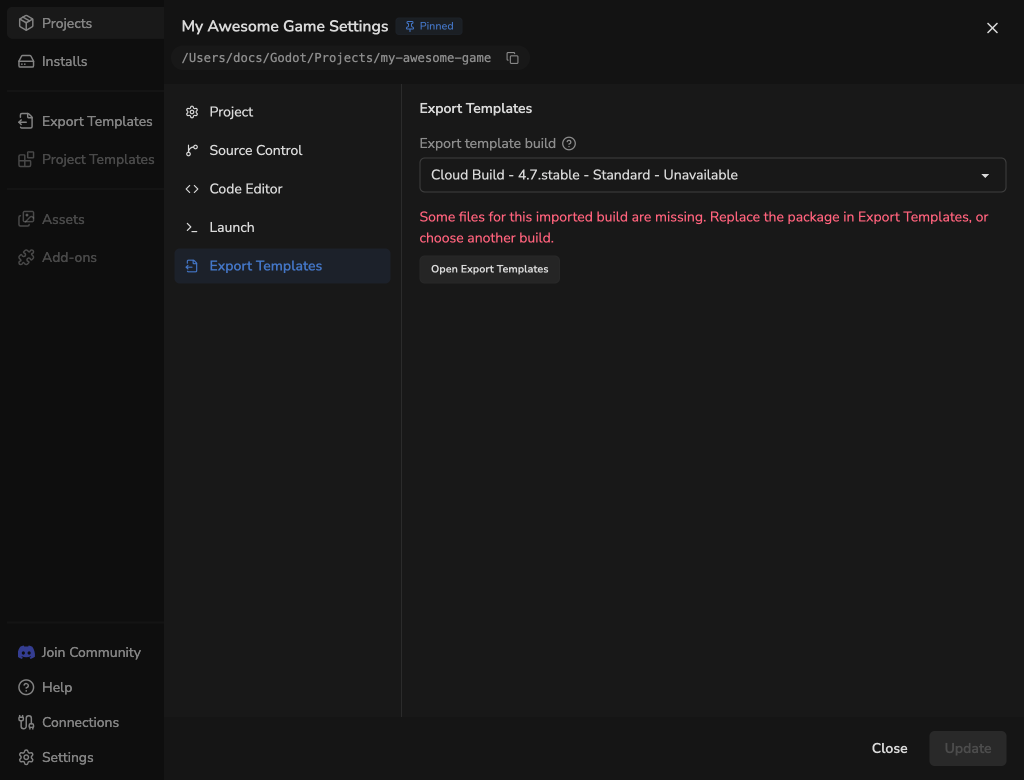
A build with missing files is marked Unavailable and cannot be selected. If it was already selected, its name stays visible with a warning. Godot Launcher does not silently switch the project to Official.
Choose Open Export Templates and replace the TPZ package to restore its files. Alternatively, choose another matching build or Official in Project Settings, then choose Update. Download any missing Official templates before exporting.
Connect existing projects
Projects using official Godot editors automatically use shared templates when they have no local export template files. For projects with existing local files, open Migrate projects from Export Templates.
| Choice | What happens |
|---|---|
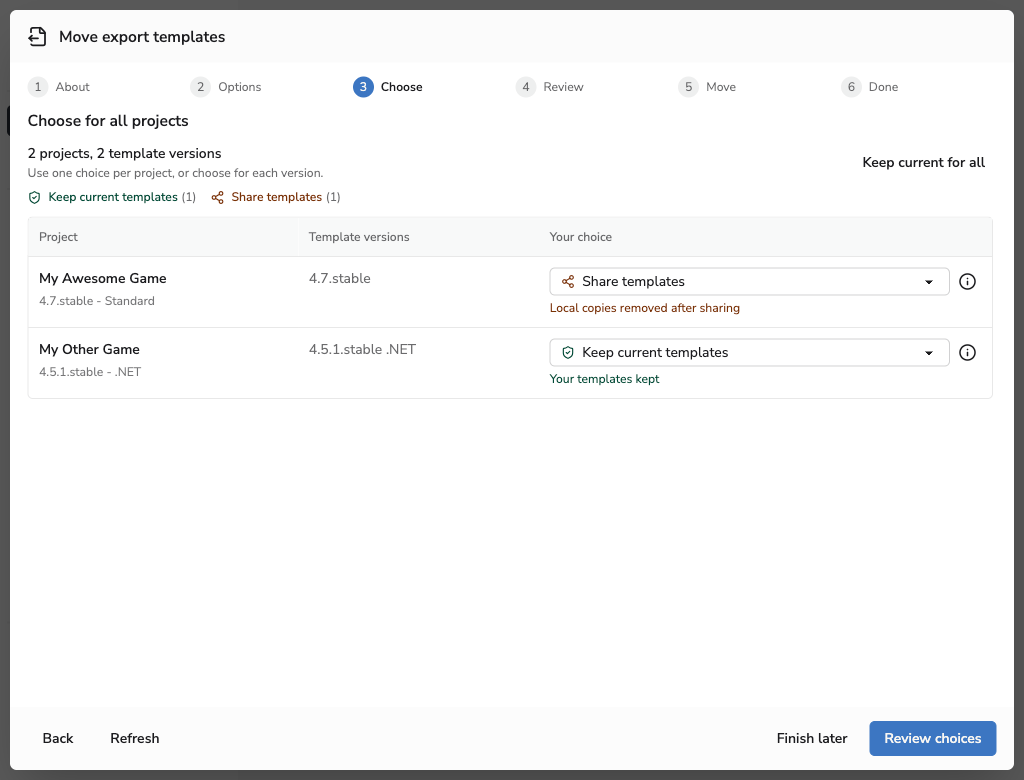
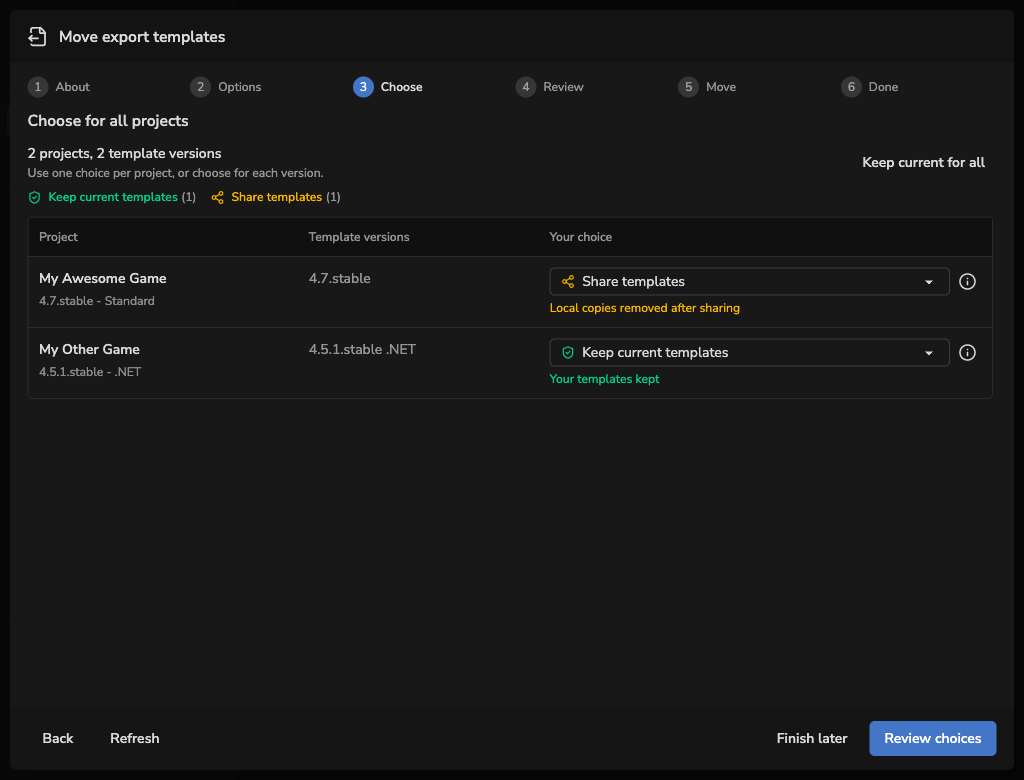
| Keep current templates | Moves each local version folder to a named Imported build and keeps the project using its files. Shared Official files stay unchanged. |
| Share templates | Adds missing files to the shared collection, keeps existing shared files, and connects the project to it. Local copies are then removed. |
| Use shared templates | Connects the project to shared Official templates and removes its local files without copying them. You may need to download missing templates before exporting. |
| Decide later | Leaves this version's local files and choice unchanged. Return to it from Export Templates when ready. |
Share templates and Use shared templates permanently remove the listed local files without saving a separate copy. If a shared file has the same name but different contents, Share templates keeps the shared file and removes the local one. Keep your own copy before choosing either option if you may need those originals later.
- Choose See options, then Choose for projects.
- Choose how to handle each project's templates. Keep current templates is selected initially. Enable Choose for each version to make separate decisions for a project's versions.
- Choose Review choices. Godot Launcher checks the files and lists what will happen to each version. Nothing changes during this review.
- Close Godot editors and stop exports. If you selected Share templates or Use shared templates, acknowledge the removal of the listed local files.
- Choose Move templates and keep Godot Launcher open until the move finishes. Check the result for each version, then choose Done or Open Export Templates.
A folder's location or matching filenames do not prove that its files are official. Choose Keep current templates to retain a custom version independently of the shared collection.
Choose Finish later to close the wizard before starting a move. Your local files stay unchanged, and you can return from Export Templates.
Use View migration to reopen progress or results after a window reload. Try failed versions again opens a new review for only the failed versions.
If a move is interrupted, follow the recovery steps before starting another migration.
Rename, replace or delete an import
Close affected Godot editors and stop exports before changing connections, replacing packages or deleting templates.
Use Rename to change a build's name and folder name. Saved project selections continue to refer to that build.
A successful replacement permanently removes the previous package files. Deleting an imported build permanently removes its stored package. Godot Launcher keeps no backup. Keep the original TPZ archive or your own copy if you may need those files later.
Use Replace TPZ to replace the whole package. The replacement must have the same Godot version and edition. Projects using the build will use its replacement files.
Use Delete imported build to remove a package. If no projects use or remember the build, confirm with Delete imported build.
If projects use it now or remember it for another editor version, expand Affected projects to review the listed projects. Choose a matching replacement or Official, then choose Switch and delete. Only the affected version's saved choice changes.
Change the Godot export template location
To move Godot export templates to another folder or drive, open Settings > Export Templates. You can change the locations for Official export templates and Imported custom templates independently.
- Close Godot editors and stop exports.
- Choose Move beside the collection, then select an empty, writable destination folder outside the existing template storage folders.
- Review the destination, data size and available space.
- Choose Move templates and keep Godot Launcher open until the move finishes.
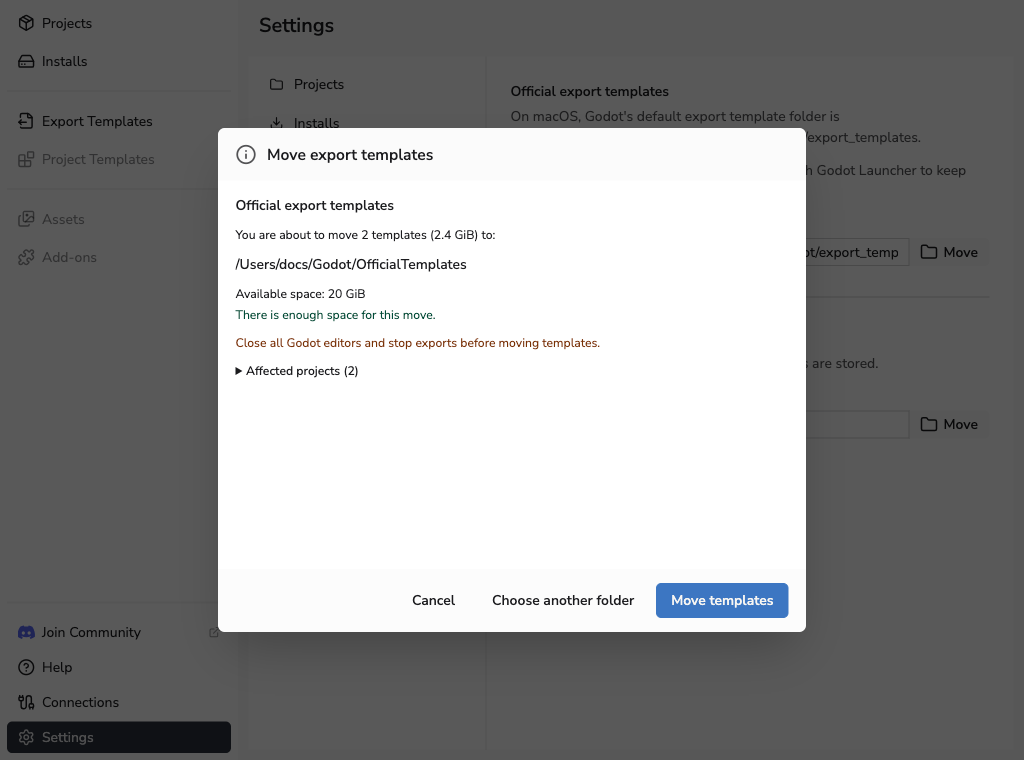
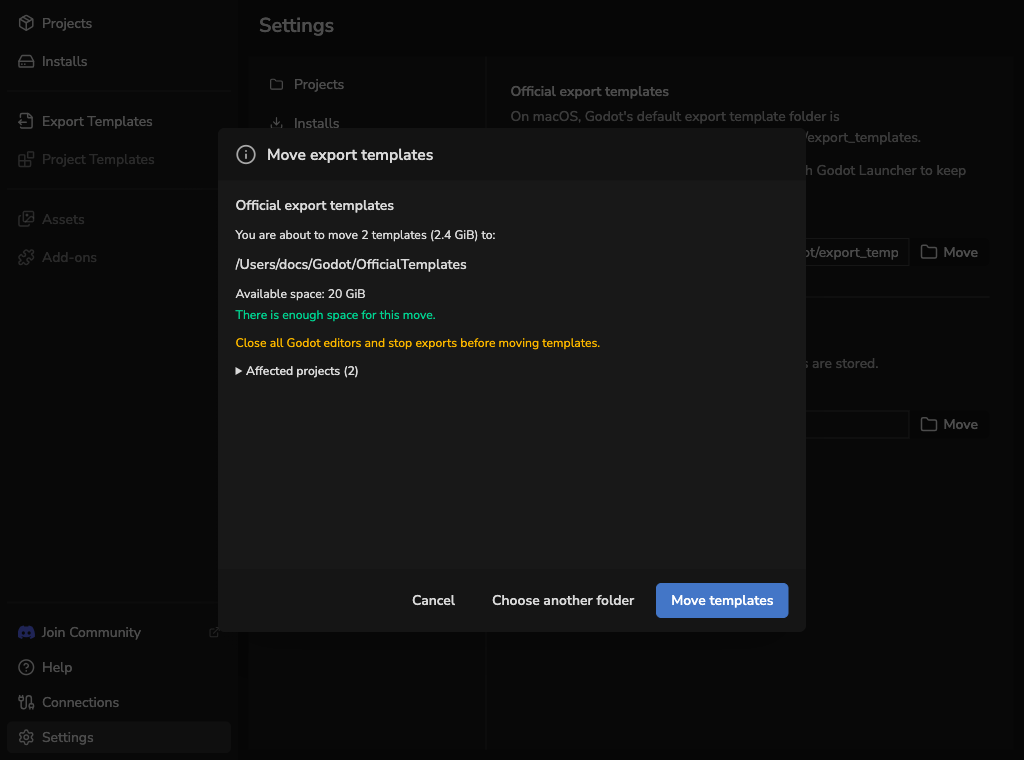
Godot's default template path continues to work after moving Official files. Open projects through Godot Launcher to use their saved template choices.
Use Move back to Godot's default location to return relocated Official files. Changing the editor install location does not move template storage.
Use Cancel while it is available. If a move is interrupted, follow the recovery steps before trying another move.
Refresh and recover
Template views and open build selectors refresh when you return to Godot Launcher. Expanded folders and unsaved selections are preserved. You can also choose Refresh after external file changes.
Recovery buttons appear only when an interrupted operation needs attention. Close Godot editors and stop exports, then use the button shown:
- Recover files in Export Templates or Settings > Export Templates.
- Recover interrupted move in the migration wizard.
If recovery fails, reconnect any missing drive and check access to the project's folder and the template storage locations shown in Settings > Export Templates, then retry.
Recovery cannot restore files permanently deleted by a completed operation.
See Storage Paths and Files for default locations and Godot Editor Settings per Project for editor settings.