Create Your First Project
You can create a new project and start editing in seconds, or choose to add an existing project to start using it with Godot Launcher.
Create a new Project
By default, the launcher creates new projects inside the folder set in Settings -> Projects -> Project Location. In v1.9.0 you can keep that default and still override the path for one project when needed.
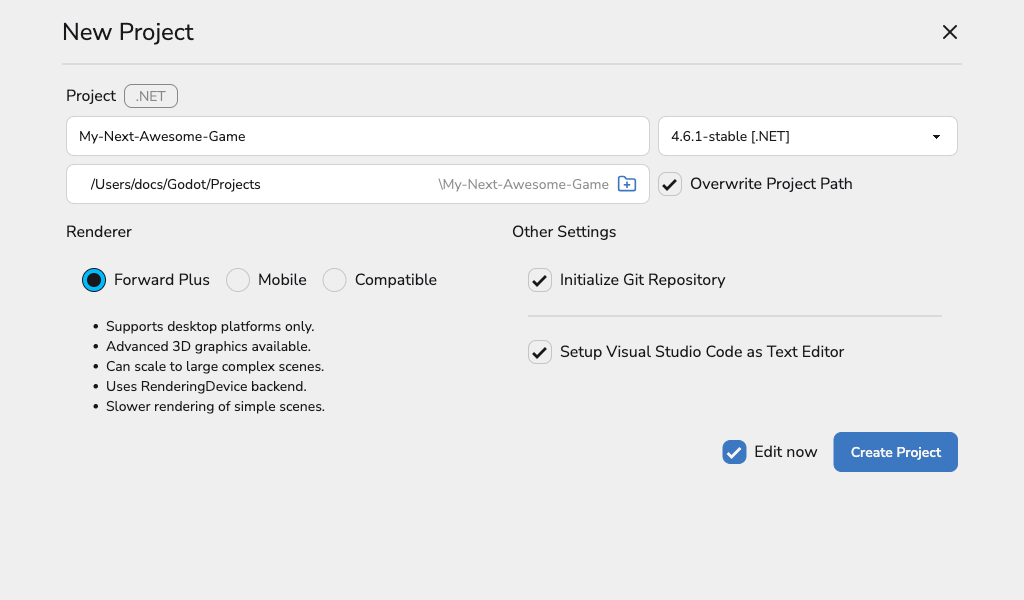
- Navigate to the Projects section from the left-hand navigation menu.
- Click Create Project.
- Enter a project name and choose the Godot version you want to use.
- Leave Overwrite Project Path off to use your normal default location, or turn it on to pick a different parent folder for this project.
- Click the folder button to browse, or type a path manually.
- Click Create Project and, if enabled, Edit now to launch it immediately.
When Overwrite Project Path is enabled, the launcher still creates a clean project folder using your project name. That means you choose the parent folder, and the launcher creates the final path as {parent}/{project-name}.
Example parent folders:
- Windows:
D:\Godot\Projects - macOS:
/Users/you/Godot/Projects - Linux:
/home/you/Godot/Projects
Turning on Overwrite Project Path only changes the location for the project you are creating right now. It does not change your default Project Location in Settings.
Safety checks
The launcher will not overwrite an existing project folder full of files.
- If the target folder already exists and is empty, creation continues.
- If the target folder already contains files, the launcher stops and shows an error.
- If the selected path points to a file instead of a folder, the launcher stops and shows an error.
If you meant to bring an existing project into the launcher, use Add an Existing Project instead.
Add an Existing Project
Already have a Godot project? Drag its project.godot file (or several at once) into the Projects screen, or click Add and pick the folder that contains project.godot. The launcher registers each project without moving any files and shows progress while importing multiple items. Every project then appears in your Projects list, ready to launch with the best matching editor.
For version-selection rules, Mono handling, and integration details, visit Add an Existing Project.
Looking for a refresher on setup defaults or editor locations before importing? Review Launcher Settings.
To open any project, including ones you import, simply click its name in the Projects list.